
Wireless Antenna and Access Point Mounting Options Overview
Download the Full Whitepaper (PDF)Executive Summary
Key Takeaways:
- Antenna and access point mounting play a critical role in wireless network performance and coverage.
- Common mounting options include ceiling, wall, pole, and mast installations, each suited to different environments.
- Ceiling-mounted access points provide more uniform and centralized coverage, especially in indoor environments.
- Wall mounting is useful in specific layouts or when ceiling installation is impractical.
- Outdoor deployments typically rely on pole or wall mounts to maximize signal propagation.
- Proper height, orientation, and placement reduce interference, dead zones, and signal loss.
- Environmental factors like metal structures, walls, and electronic interference significantly impact performance.
Introduction
This paper details different antenna mounting options which are available for Directional and Omni directional antennas. The paper describes common installation options for antennas and wireless access points.
NEMA Enclosure Mounting
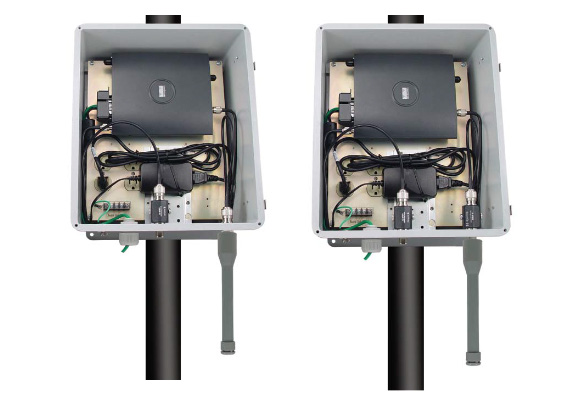
For mounting an antenna to a NEMA enclosure, a typical configuration includes running a pigtail cable from the access point or radio to a bulkhead N-female adapter or coax lightning protector. Outside of the enclosure directly attach the antenna to the adapter or lightning protector. (This mounting scenario utilizes HGV series or outdoor rated rubber duck style antennas.)
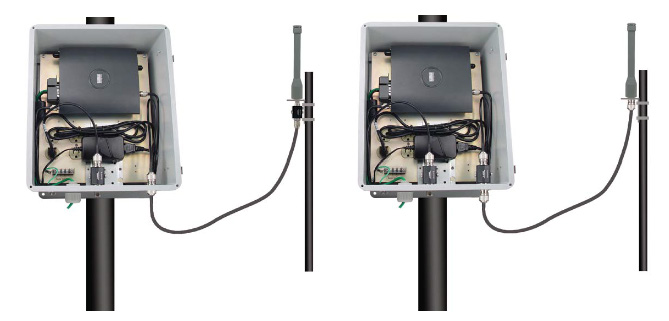
For remote mounting of antennas, cables can be connected to the bulkhead adapters on the NEMA enclosure then directly to the antenna or to a surge protector attached to the antenna.
Recommendations
To optimize wireless antenna and access point performance:
- Conduct a site survey before installation
- Choose the right mounting type based on the environment (indoor vs outdoor)
- Use ceiling mounts for general indoor coverage
- Use pole or mast mounts for outdoor and long-range applications
- Position equipment centrally and at an appropriate height
- Avoid interference sources like metal structures and electrical equipment
- Align antennas according to their radiation patterns
Pole Mounting
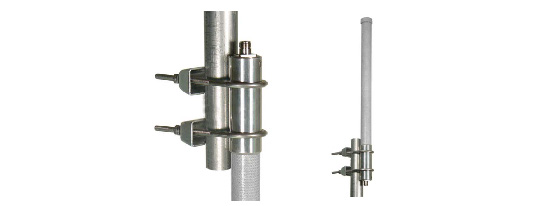
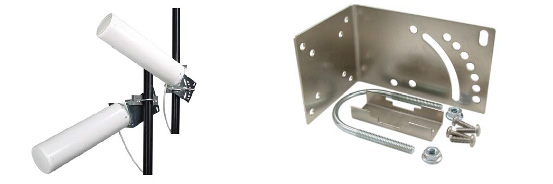
Most of L-com’s Omni directional antennas include a rugged clamp style mounting bracket which is ideal for pole mounting.
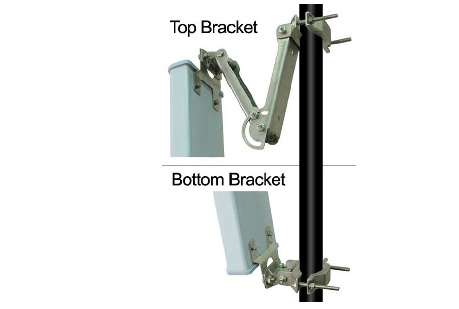
L-com’s sector style antennas include upper and lower articulated clamp mounts for pole mounting.
Yagi and Patch Style antennas utilize a tilt and swivel clamp mounting system. These mounting clamps are standard on all of L-com’s Yagi antennas and are included with most of our patch style antennas.
Side of Building Mounting
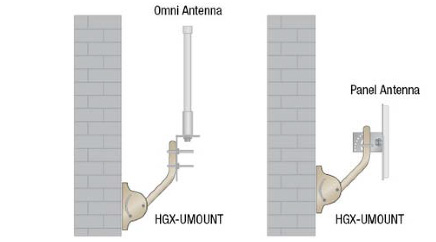
The HGX-UMOUNT can be used to mount antennas to the side of a building, roof parapet or even under the roof eaves of a building. The HGX-UMOUNT will work with our Omni, Panel/Patch and Yagi style antennas.
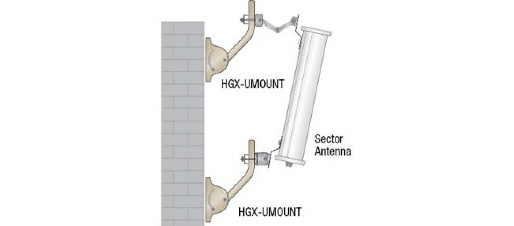
L-com’s Sector antennas can either be mounted to a pole, as mentioned previously, or to the side of a building or structure using two of the HGX-UMOUNT mounting brackets.
Mobile Mounting
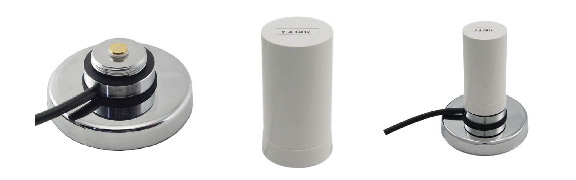
L-com offers several options for mobile mounting an antenna. The first option involves using an HMA3 Series magnetic mount with either an HGV series or outdoor rated Rubber duck antenna such as the HG2408UR-NM or HG2458-7RDR-NM.
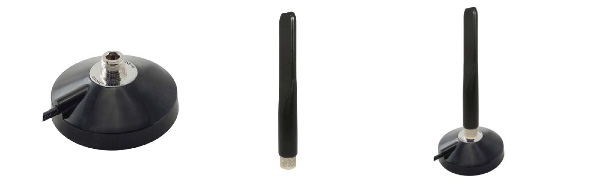
Another mobile mounting option uses the NMO style HMA1 series magnetic mount along with an antenna such as a HG2403UR-NMOW.
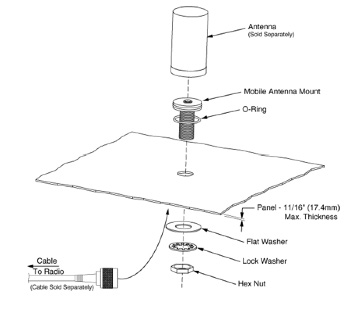
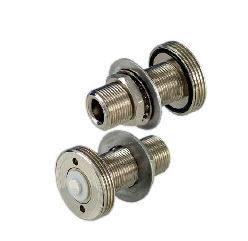
One other option is to use a NMO bulkhead style mount such as the AXA-AMNFB. This mounting option would require a hole drilled through the vehicle body, an N Male connecting cable to the appropriate radio connector and an NMO antenna.
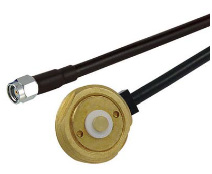
Additionally a CA-AM1RSPA010 mounting cable could be used in a mobile mounting application. These NMO cable mounts are available with multiple connector types on the other end of the assembly to accommodate any antenna interface.
Window Mounting
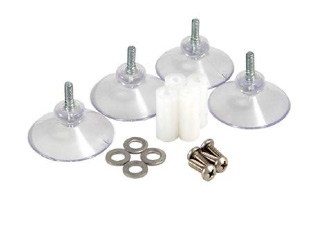
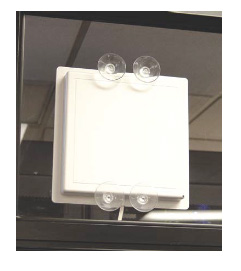
For window mounting of Patch antennas we recommend the HGX-PMT08 suction cup mounting kit.
Outdoor Access Point Mounting
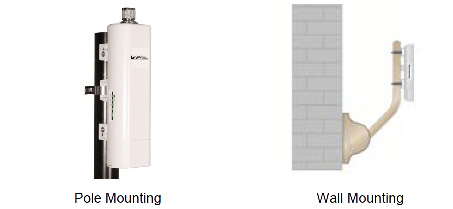
Access points can either be pole mounted or wall mounted. The HGX-UMOUNT mounting bracket can be used for wall mounting and is compatible with many manufacturers’ access points.
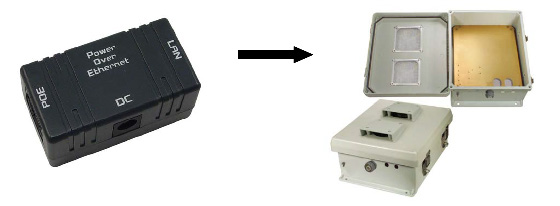
PoE injectors used with any outdoor access point need to be mounted in a dry location such as inside a shelter or building, or outside in a weatherproof NEMA enclosure.
Read About Antenna and Access Point Mounting
Wireless antenna and access point mounting is not just a physical installation step—it is a core component of wireless network design. The right mounting strategy ensures better signal distribution, reduces interference, and enhances overall network performance.
By selecting appropriate mounting options and considering environmental factors, organizations can build reliable and high-performing wireless systems.
Frequently Asked Questions
A: Mounting directly affects how radio signals propagate. Poor placement can lead to weak signals, dead zones, and unreliable connectivity, even with high-quality equipment.
A: Ceiling-mounted access points distribute signals in a dome-shaped pattern, ensuring even coverage across the area below and minimizing dead zones.